A thriving garden is built on structure. Whether you’re growing tomatoes, peas, beans, cucumbers, or flowering vines, climbing plants need support. Enter the garden trellis—a simple structure that lets plants grow vertically, saving space and improving airflow. And while there are plenty of pre-made options, building one yourself is easier than you might think. Even better? You can use reusable cable ties to hold it all together.
Cable ties might seem more at home in a toolbox than a garden, but don’t overlook their versatility. Reusable ties let you adjust as your plants grow, fix loose sections, and take down your setup at the end of the season without cutting and wasting materials. With just a few materials and a handful of these sturdy ties, you can build a reliable, low-cost trellis that fits your space perfectly.
Let’s walk through the process, from design to installation, and explore how reusable cable ties can make your trellis stronger, simpler, and more sustainable.
Why Go Vertical with a Trellis?
Climbing plants naturally seek out height. But without support, they end up sprawling across the ground, competing for light and risking rot from soil moisture. A trellis helps by lifting them into open air.
Benefits of vertical growth:
-
Saves space in raised beds or small plots
-
Improves airflow, reducing risk of mold and mildew
-
Makes harvesting easier
-
Keeps fruit off the ground, where pests and rot can ruin your crop
-
Looks attractive, adding visual interest to your garden
A DIY trellis lets you customize the height, width, and material based on your garden layout and what you’re growing. And with reusable cable ties, you’re not locking yourself into a rigid structure—you can change things as needed.
Why Use Reusable Cable Ties for Gardening?
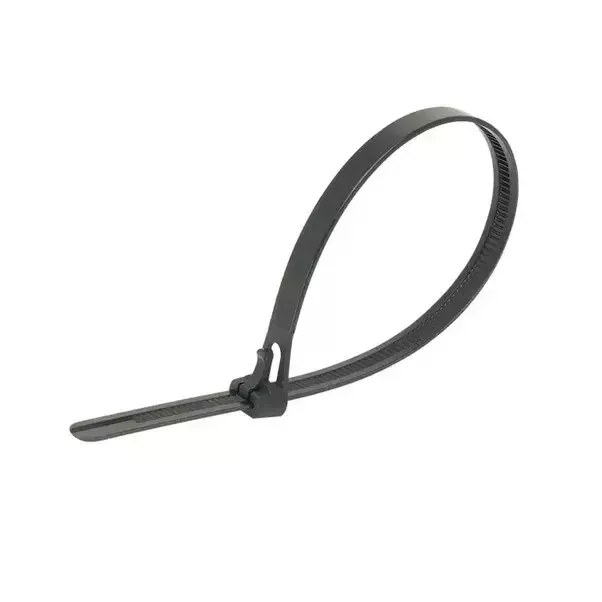
Standard nylon cable ties are useful, but once you cut them, they’re done. Reusable ties, on the other hand, include a release tab that lets you loosen or unfasten them without damage.
In the garden, this flexibility pays off:
-
Adjust tension as plants grow and push against the frame
-
Reconfigure the structure if you change crops or layout
-
Take down the trellis at season’s end and rebuild next year
-
Avoid plastic waste by reusing ties season after season
Reusable ties also come in UV-resistant versions that withstand sunlight, rain, and temperature fluctuations. Look for sizes from 8 to 14 inches for most trellis applications. If you’re working with thicker poles or need extra grip, go longer.
Materials You'll Need
To build a simple garden trellis using reusable cable ties, you need:
-
Support poles (bamboo, wooden stakes, metal rods, or PVC)
-
Crossbeams or horizontal supports (can be wood, string, or mesh)
-
Reusable cable ties (8 to 14 inches, UV-rated)
-
Netting, string, or chicken wire (for climbing surfaces)
-
Scissors or snips (for trimming ties or cutting mesh)
Optional:
-
Drill and screws if anchoring to a fence or raised bed
-
Measuring tape and a level for precise alignment
You can source most materials at a garden center or hardware store. Keep it lightweight if you plan to move the trellis around during the season.
Step-by-Step: Building Your DIY Trellis
Step 1: Choose Your Trellis Style
Your plants and space determine the best structure. Some popular types include:
-
A-frame trellis: Two angled panels joined at the top. Great for beans and cucumbers.
-
Vertical wall trellis: Upright panel secured to a fence or wall. Ideal for tomatoes and flowers.
-
Arch trellis: Curved frame for decorative vines or shaded paths.
-
Grid or panel trellis: Simple rectangular frame with mesh or slats for climbing.
We’ll focus on the vertical wall and A-frame types for simplicity.
Step 2: Set Up the Frame
Drive two vertical support poles into the soil, spaced about 3 to 4 feet apart. The depth depends on the pole type, but aim for at least 12 inches to stay stable in the wind.
For an A-frame trellis, install two poles on each side and angle them inward until they meet at the top. Secure the top joint with two reusable cable ties, crisscrossed for strength.
Step 3: Add Horizontal Support
Use bamboo canes, wooden slats, or PVC pipes as horizontal beams. Space them about 12 to 18 inches apart, depending on your plant’s growth pattern.
Attach each beam to the vertical poles using two reusable cable ties per joint. Loop and cinch tightly, but leave room for slight movement. You’ll appreciate this if you ever want to realign or raise a level midseason.
For larger or heavier plants, consider using more ties per joint for extra grip.
Step 4: Attach Mesh or Netting
To give plants something to grip, you’ll need a climbing surface. You can use:
-
Garden netting
-
Chicken wire
-
Plastic mesh
-
Twine strung in a grid
Lay the material against the frame and attach it using ties every 6 to 12 inches. Weave through the mesh and around the poles or crossbeams. Keep the surface taut but not overstretched.
This layer will bear most of the weight from vines and fruit, so double up ties in the middle for support.
Step 5: Check and Adjust
Once everything’s in place, give your trellis a good shake. It should feel sturdy but not rigid. Use the release tab on any tie that needs adjusting and reposition it without fuss.
Trim off any excess mesh or ends of cable ties, and you’re ready to plant.
Caring for Your Trellis Throughout the Season
Your trellis will shift a bit as plants grow. The beauty of reusable cable ties is that you can respond to those changes.
-
Midseason sag? Loosen and reposition a beam or tie.
-
Shifting netting? Add more ties without starting from scratch.
-
Switching crops? Disassemble and rebuild in a new configuration.
At the end of the growing season, you can snip plant material away, release the ties, and store everything flat. No wasted hardware. No piles of brittle plastic.
Smart Add-Ons Using Cable Ties
Cable ties do more than hold the frame. They help manage accessories and add functionality.
-
Label your plants with tags looped onto ties at the base
-
Tie up tomato vines as they grow using soft garden ties or twine fastened with a cable tie
-
Mount irrigation lines to your trellis structure with ties to keep water flowing at the base
-
Secure pest netting or shade cloth as needed by tying it to the top frame or sides
Need more shade as the sun moves? Just loosen the tie and adjust the cloth.
Which Reusable Cable Ties to Choose
Here’s what to look for when shopping:
-
Length: 8–14 inches works for most garden applications
-
Material: UV-resistant nylon (look for black or green ties)
-
Locking style: Releasable with side tab or button mechanism
-
Tensile strength: 40–75 lbs for general garden use
Some reusable cable ties come with a looped end for easy hanging. Others allow stacking or daisy-chaining, which is handy for wide beams or poles.
Brands like HellermannTyton, Gardner Bender, and Wrap-It offer garden-safe versions designed to last in heat and sun.
Common Mistakes to Avoid
-
Using non-UV-rated ties: They’ll turn brittle fast and fail before the season ends
-
Over-tightening: This can crush stems or snap mesh
-
Using ties once and tossing them: Reusables are designed for multiple uses—take advantage of it
-
Letting ties face inward: Position locking heads outward to prevent rubbing plant stems
-
Ignoring wind resistance: Re-secure loose panels after strong gusts
Final Word: A Flexible, Functional Garden Solution
Reusable cable ties may not be the first tool you reach for in the garden, but they should be. They’re strong enough to build a trellis, gentle enough to adjust as plants grow, and smart enough to be reused again next season. With a roll of mesh, a few poles, and a pack of ties, you can create a vertical growing system that fits your space and your needs.
Forget drilling, hammering, or struggling with brittle plastic. Reusable cable ties give you flexibility without the mess—and your plants will thank you for it.
For more insights and tips on cable ties and other related products, explore cabletiesunlimited.com, get a quick and free quote, and follow us on our social media communities on Facebook and Instagram!
